On this page
Edit mode: Navigation and Configuration panels
Navigation panel
Actions you can perform in Edit mode:
| Button | Action |
|---|---|
 | Refresh Flow data |
 | Focus view on selected Step. The button will become visible when you select a Step on the tree |
 | Split tree |
 | Clone tree |
 | Delete tree |
 | Activate Thread mode |
 | Activate Selection mode |
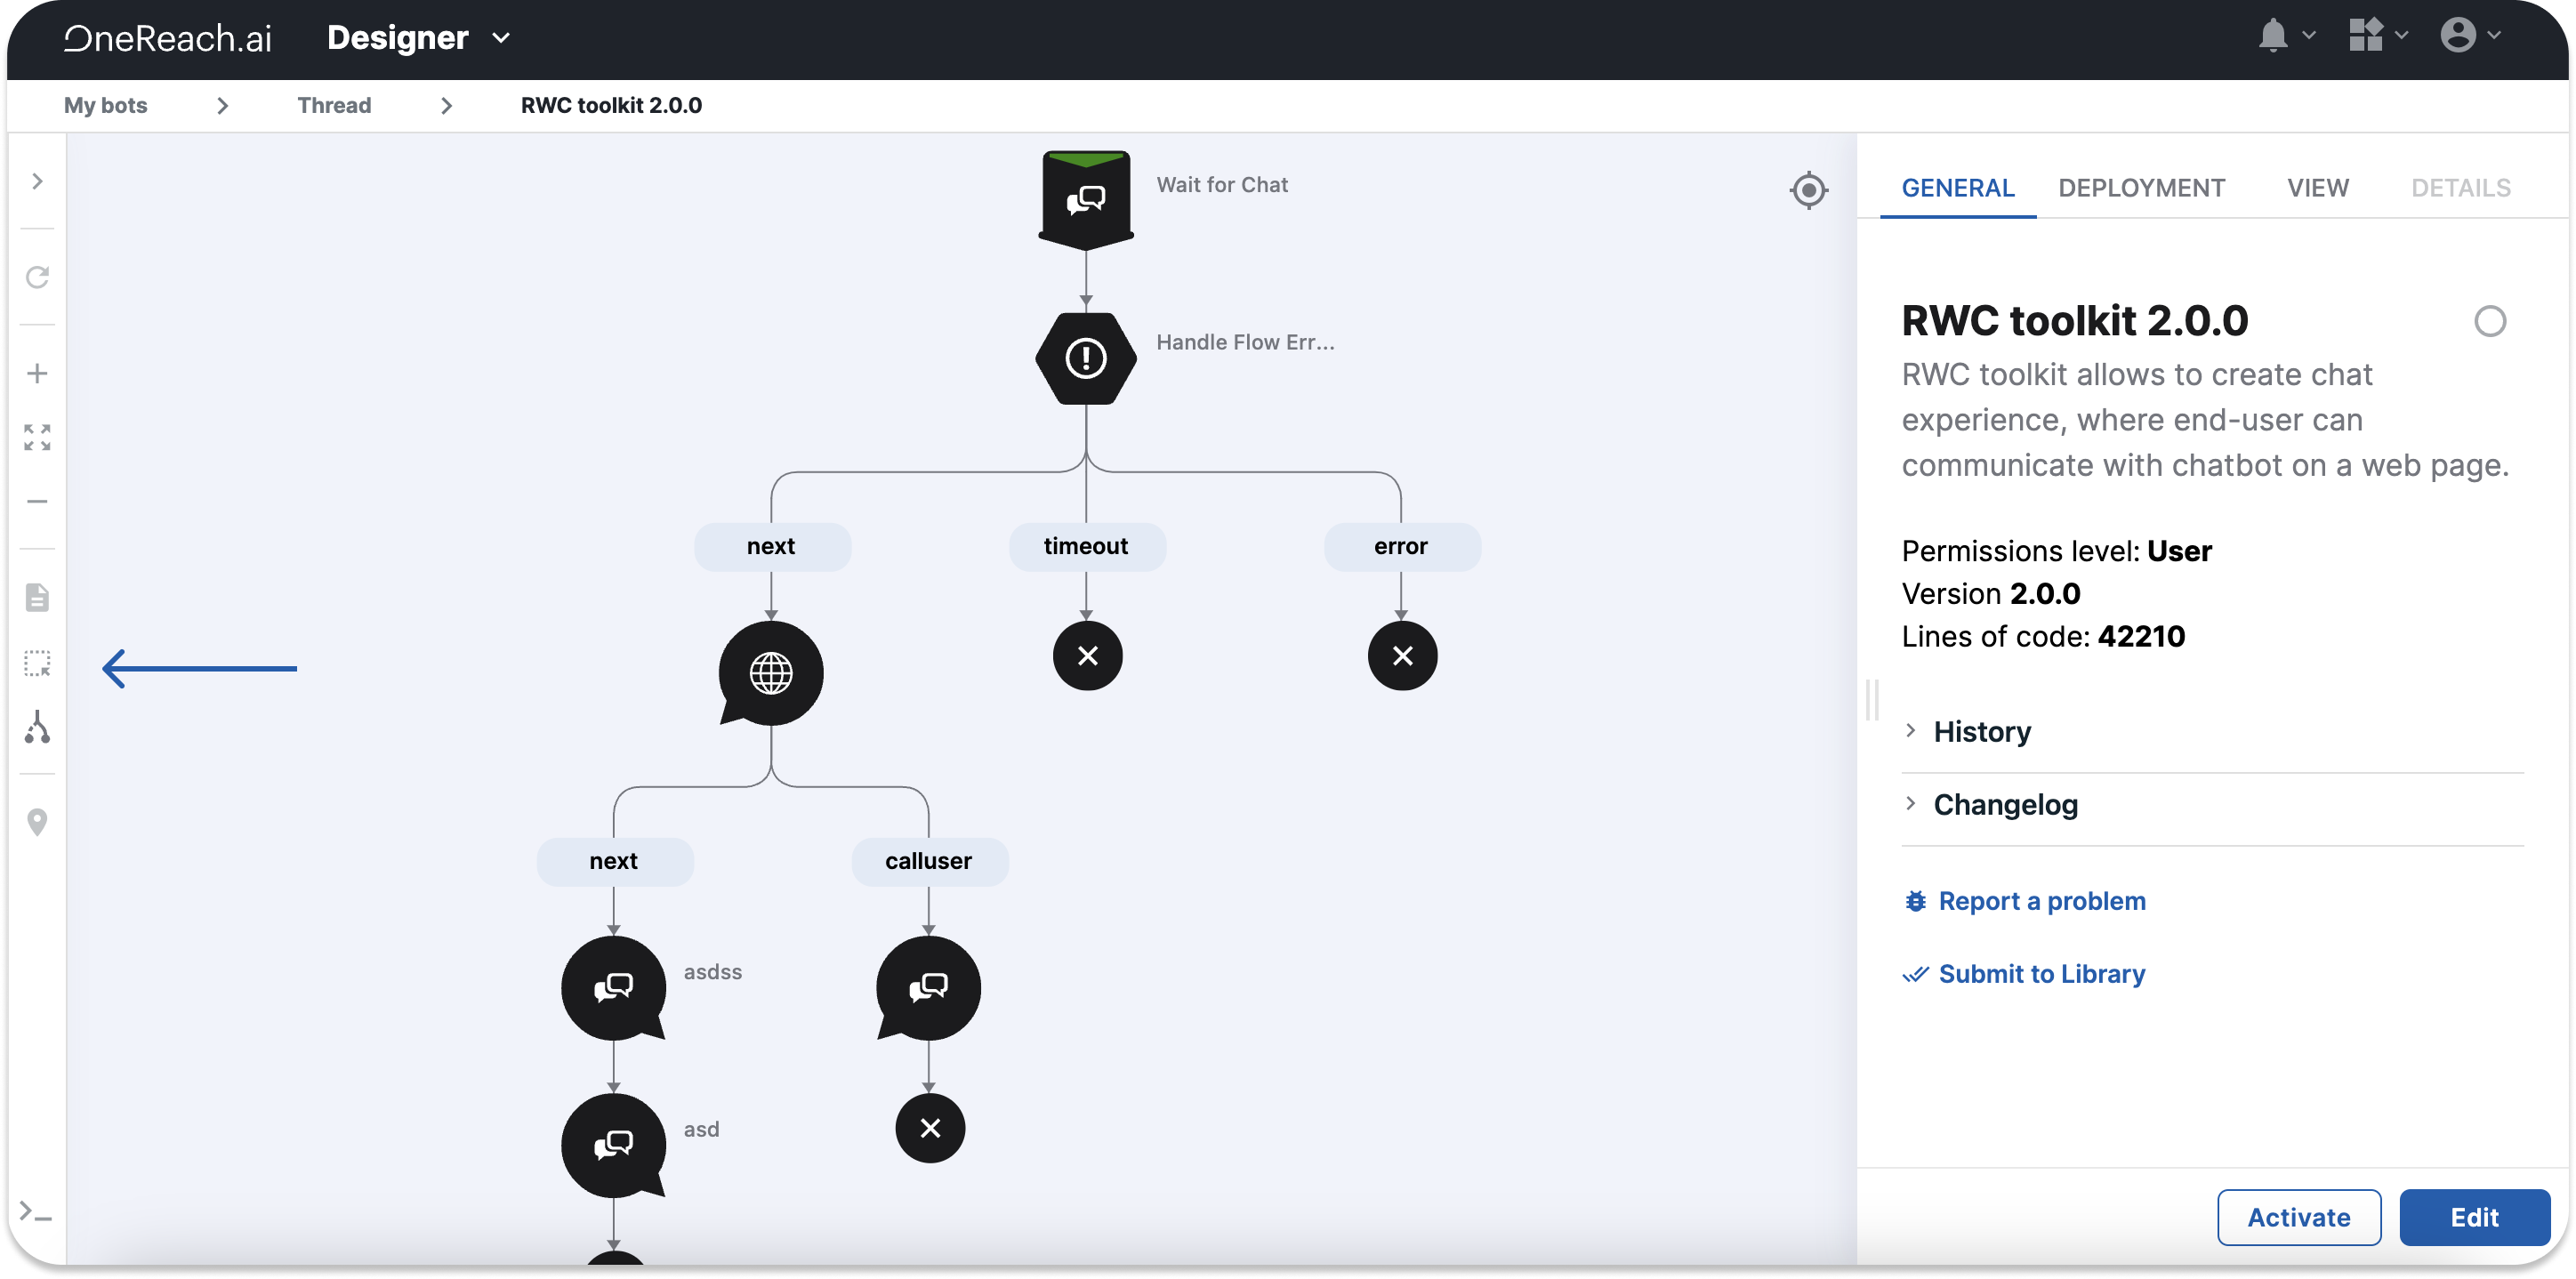
Refresh Flow data
Refreshing Flow data comes in handy when you are working with multiple Flows. For example, when you have changed the Merge field name in your Subflow or when you have altered the Trigger Flow itself. For your main Flow to fetch these changes, you only need to click Refresh Flow data in the main Flow. There is no need to reload the whole page.
Selection mode
Selection mode allows the selection of multiple Steps and Annotations on the Flow tree at the same time. Selecting a number of Steps on the Canvas allows you to clone/copy/split/cut/delete them. This feature is particularly useful when managing larger Flows, as it allows for efficient manipulation of groups of Steps, such as cutting and copying them anywhere on the tree to create a Subflow, for example.
To activate the Selection mode, click and either drag the mouse over the desired Steps or use the hotkeys Shift+Command+Click (ctrl for non-Mac OS). The selected Steps will be displayed in the Details tab on the right side, with unnamed Steps listed as “No Name”. The Selection mode also works with folded Steps. If you select a folded branch, it will be copied/cloned/split as unfolded.
When you split a group of Steps, you can drag them on the + sign on the Canvas, only if the group is part of one tree branch.
Press and hold the whitespace to move around the Flow tree with the Selection mode on.
Configuration panel
To edit a Flow, click Edit in the bottom right corner of the Configuration panel.
Note
The Edit button might not be active if your user's permission level is lower than the level the Flow has been activated with.
The following tabs are available in the Configuration panel in Edit mode:
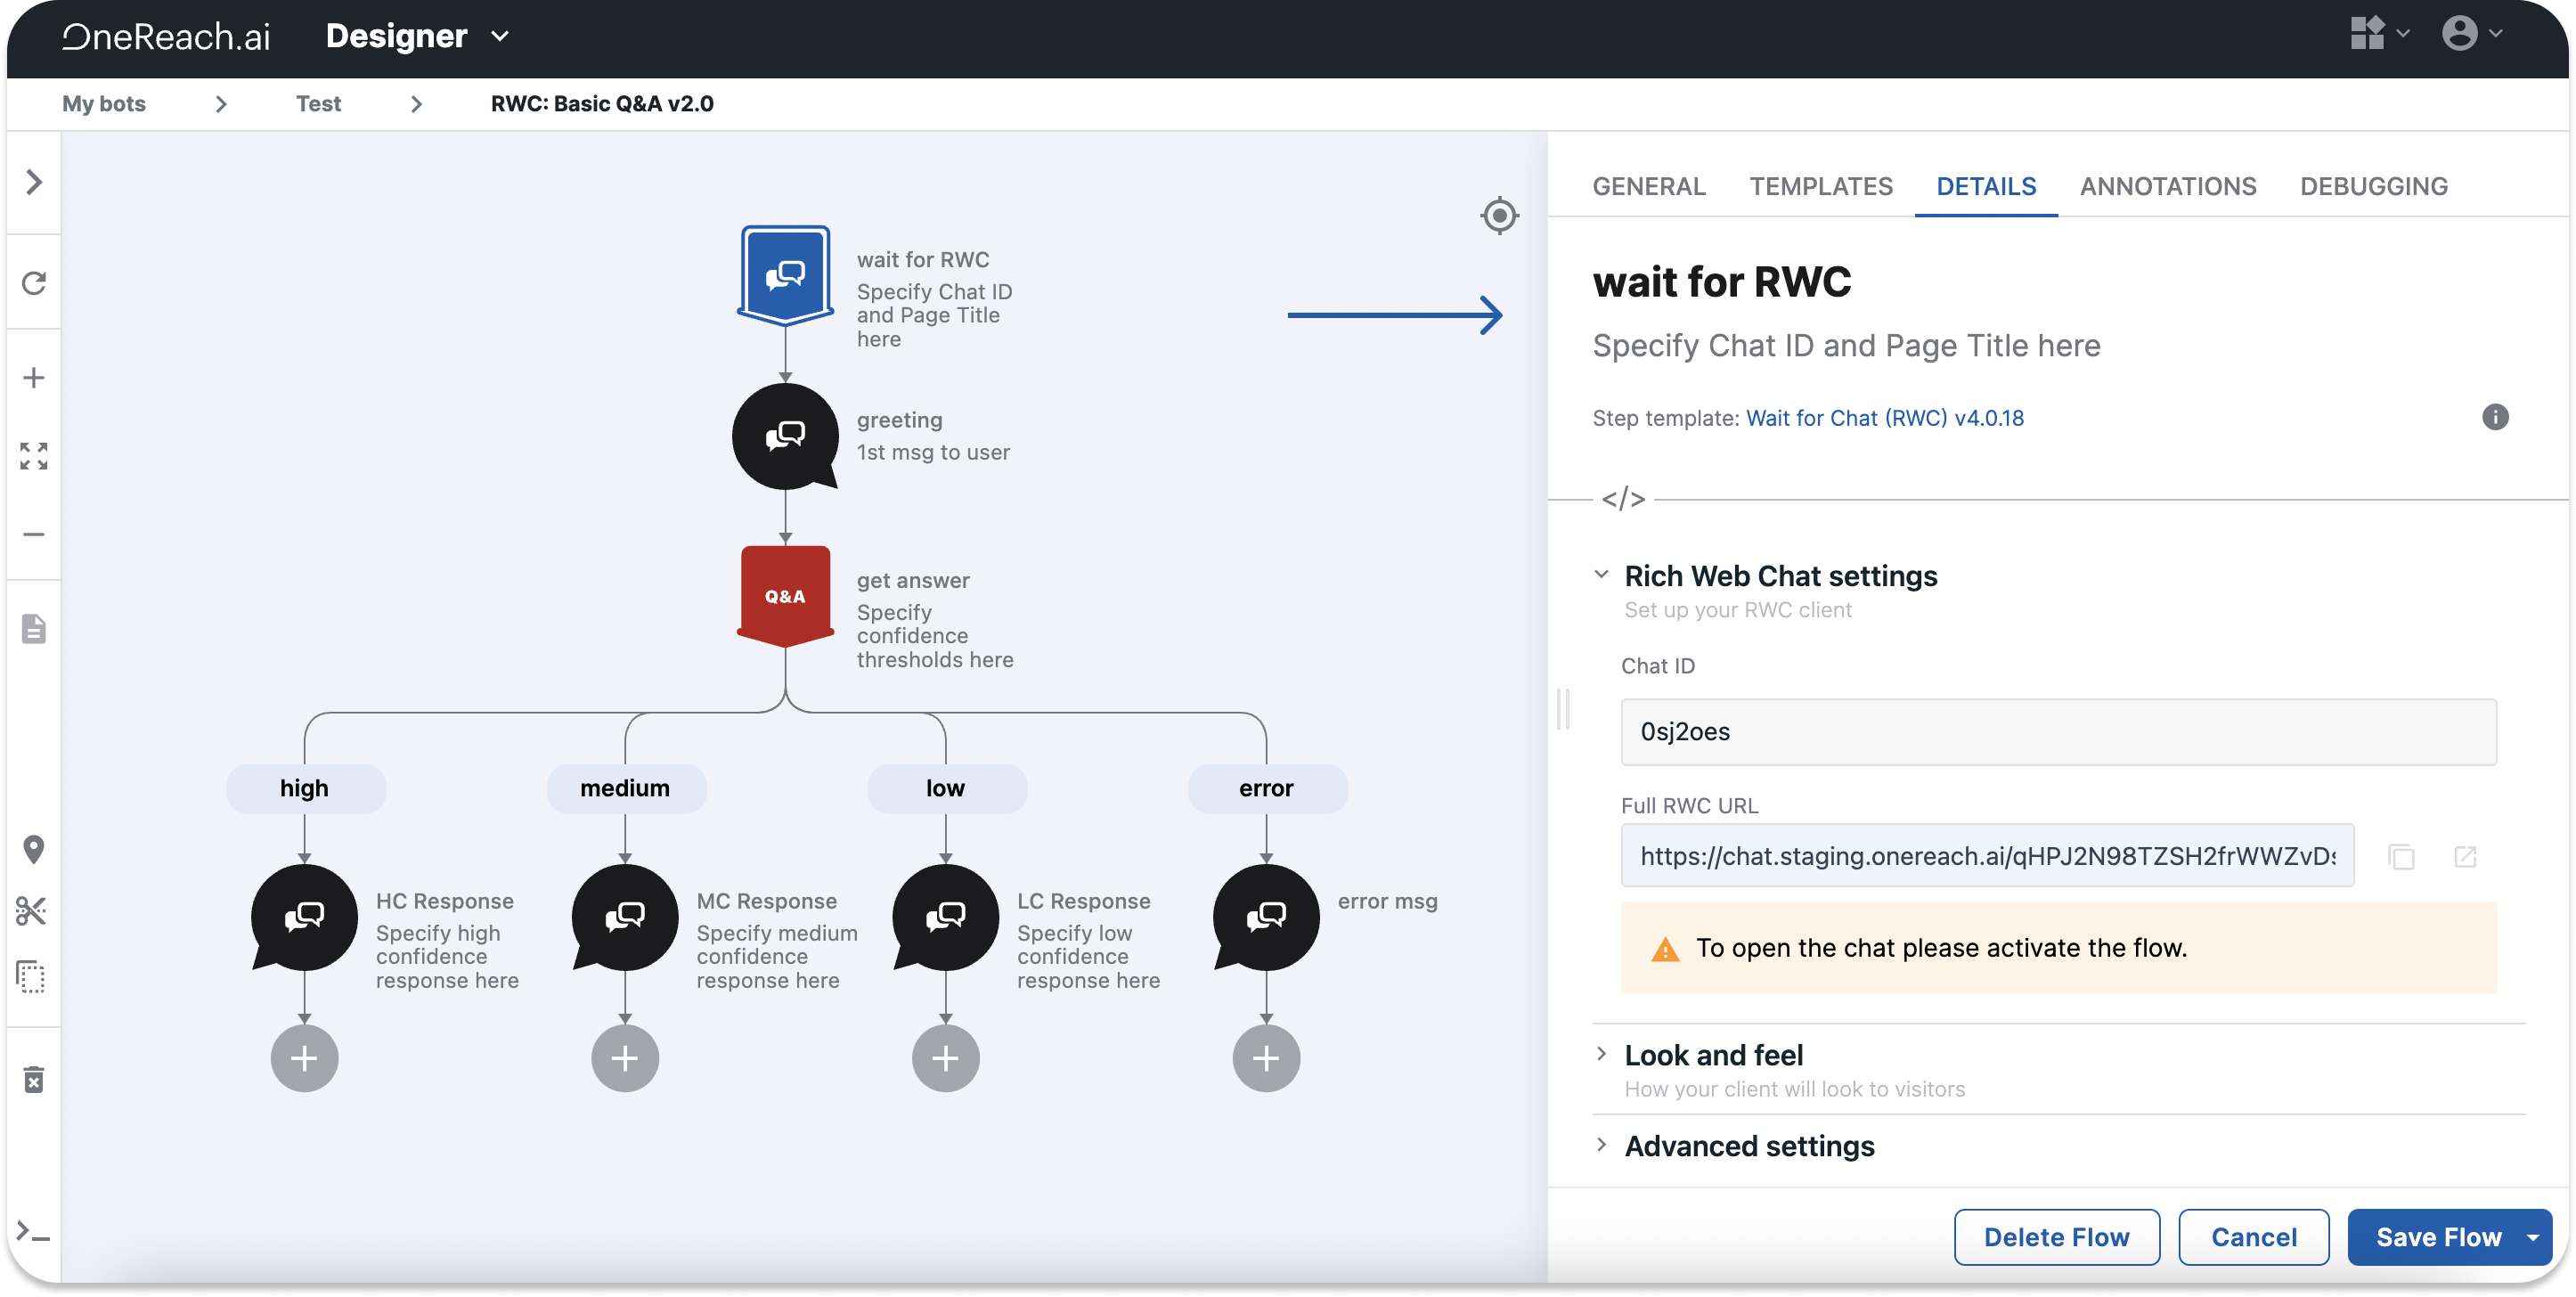
General tab
On switching to Edit mode, the General tab displays the Flow description and the following sub-menus:
Deployment settings and their properties
- Memory Size: a setting to control the number of resources available for the execution of your Flow. It influences the speed of your Flow start-up, response, and execution. The bigger the memory size you set, the more expensive each Flow execution will cost. We recommend starting with the minimum memory size for a new Flow and increasing it if testing shows the need to do so.
- Execution timeout: a maximum time for each action your Flow executes, like sending API requests and waiting for a response, or waiting for a 3rd party to respond, etc. If an action reaches its timeout while the Flow is still executing Steps, the Flow will stop its execution and end.
- Flow permissions level: access level of the Flow that authorizes it to make requests to different services. There are three access types: User, Admin, and Super Admin. You can select a higher Flow role than the user role that is working on the Flow, but the Flow activation will fail.
- Enable flow log expiration time: sets the time during which the repository stores the logs for a particular Flow. The expiration time set on the Flow level has a higher priority than that set on the Bot level. In other words, the expiration time set on the Bot level applies to all Flows within that Bot if not set otherwise on the Flow level.
- Use static IP address: enables your Flow to operate from a set of static IP addresses. We recommend turning on this function so that your Flow's IP address won't be blocked if you are building a solution for a client who uses white/black lists of IP addresses. The Designer generates the IP address set that can vary from 2 to 5 addresses.
- Log level: defines the type of logs saved to CloudWatch. One log type is set for the entire Flow, but you can set a different log type at the Step level.
Advanced settings and their properties
- Clone this flow: lets you clone the Flow to the current Bot or any other Bot in your account.
- Flow source: opens a JSON file that represents the entire Flow. The Flow source contains all Flow details, including the structure, Steps, and user inputs which you can edit and save. To duplicate a complete Flow, copy and paste the JSON file into another Flow’s Flow source.
- Download Flow source: downloads the Flow source as a single file.
- Flow packages: allows adding different npm packages.
- Update Library step templates: updates prebuilt Step templates in your Flow to the latest version, available in the Library.
Changelog
Lets you add versions to your Flow depending on the changes made. It is crucial to correctly describe and version the changes made for convenient managing and navigation purposes. Follow the link for more information on Flow history.
Templates tab
Shows the list of Step templates you have downloaded to the Flow. When you download a Step template, it is stored in the respective Flow's source.
Each Step template has an origin Library. If the Library says Global, this Step was downloaded directly from the Library into your environment. Local displays when you create a new Step in the current Flow. You can also see Unknown, meaning the source is not available anymore. You can also use other Flows as a source of downloading Step templates. In this case, the Flow name is displayed as the source Library.
To filter the downloaded Step templates, click the Filter button  . You can sort the templates by the following categories: Gateway, HTTP, and Logical, or choose to display the Step templates that are Custom only, Unused, or Have updates.
To re-use a Step, drag and drop the Step in question on the Canvas. To edit a Step template, hover the cursor over the Step template and click Edit  .
.
To create a new Step template from scratch or add a new Step template from the Library, click Or Create a new Step Template or Library. You can search Step templates by details or categories or filter Steps based on categories. One more option is to display custom-only Steps and Steps that require updates. You can also view Steps that you have downloaded to the Flow but do not use. To do so, click Show unused. The Unused step templates pop-up will appear. You can remove unused Steps from your Flow by clicking Remove. Steps that are part of a split tree will remain in the Flow.
Details tab
Shows the properties of the selected Step. The fields displayed vary depending on the Step. Common properties displayed for all Steps:
- Generate Merge field name from Step label: generates a Merge field name from the Step name. It will override your current Merge field name.
- Merge Field Type: defines the type of the Merge field as either Thread, Session, Global, or Shared.
- Error handling: adds an error leg to the Flow tree. Add a Step to this leg to process errors.
- Reporting: inherits the log type from the Flow by default, but you can change it on the Step level. Add reporting tags that can help you identify, sort, and fetch any needed information in the logs by the unique custom tag.
Note: in this tab, you are working with a specific Step of a specific Step template. Follow the link for more information on Steps and Step templates.
Annotations tab
Allows adding text, icons, images, or videos to the Steps to help guide the user through your Flow. Drag and drop the preferred annotation type on the Canvas. Right-clicking the annotation on the Canvas gives the options to unpin/clone/copy/cut or delete the annotation. You can pin the annotation to a particular Step even if you move it on the Canvas. Deleting a Step automatically detaches the annotation.
Debugging tab
Debugging helps you detect and remove existing or potential errors. Flow debugging is available in Edit mode only. On activating your Flow in Debug mode, the users will still be able to interact with your Flow, though the Flow execution will be slower. To enable the changes you have made, reactivate your Flow. The Flow is automatically reactivated in production mode in 1 hour. Follow this page to find more information on Debug mode.
- Event: displays the information about the events the Flow is subscribed to.
- Merge field data: lists in the Merge field data once the Flow has passed a Step. Merge field information will be grouped by type: Session, Global, Shared. The groups Global and Shared contain all Merge field data from all Flows within the Bot.
- Session: displays the information about the current session.
- Breakpoints: lists set breakpoints. You can set conditions for each breakpoint execution.
- Reporting Events: shows data on all events that the Steps report.
- Error: is displayed if an error happened during the Step execution. The Step that contains the error will be highlighted in red. Note: the Step won't display an error if it's handled by the Handle Flow Error Step.